
At a glance
| Start with | One clear combat loop |
|---|---|
| Main constraint | Limited upgrade-grid space on each piece of gear |
| Balance | Damage vs ammo, survivability and movement |
| Boosting | Resources boost non-exotic upgrades (since 1.7.2) |
| Pattern Infusion | Unlocks with Incursion at player level 13 (1.9) |
| Current best build | Not verified |
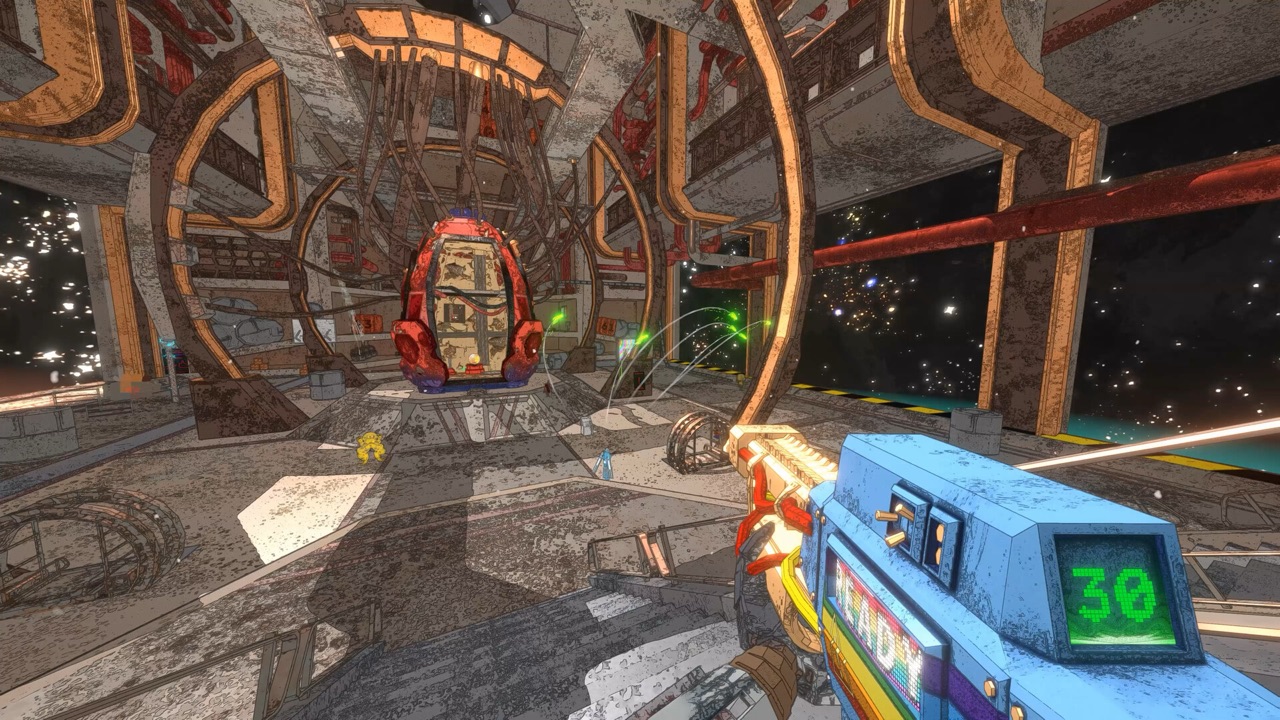
Step 1: choose a combat loop before choosing upgrades
The strongest builds are not collections of good upgrades; they are plans. Before you place anything, decide how your character will deal damage in a typical fight. That could be a weapon you fire constantly, an explosive or elemental effect you want to trigger, or an ability you want to use as often as possible.
Once the loop is clear, every upgrade can be judged by one question: does it make that loop stronger or easier to sustain? Upgrades that do neither are taking space that a supporting piece could use. This sounds simple, but it is the step most players skip when they equip whatever looks powerful.
Player build discussions on Steam show why this matters. The recipes that hold up name a specific interaction and the exact equipment it needs, while the ones described as not working usually combine strong pieces that never trigger each other.
Step 2: respect the upgrade grid
Upgrades in Mycopunk are placed into a grid on your gear, and that grid has limited space. Space, not just availability, decides what a build can include. A clever combination that does not fit is not a build you can actually use.
Plan the core pieces of your loop first and give them priority on the grid. Fill the remaining space with upgrades that patch your weaknesses, such as ammunition or survivability. If two attractive upgrades compete for the same space, keep the one that serves the loop and test the other separately.
Grid shapes, upgrade rolls and names can change between versions. Always check the current shape and tooltip in game before copying an arrangement from a video or forum post.
Step 3: balance damage with ammo, survival and movement
A build that deals huge damage but runs out of ammunition or gets your robot destroyed is not a good build. Treat damage, ammunition, survivability and movement as four needs that compete for the same grid space. Most reliable loadouts cover all four to some degree instead of maxing one.
Movement deserves special attention. Some weapons are designed around staying mobile; the Accelerator, for example, can fire while sprinting. When a build lets you keep moving while you deal damage, it usually survives harder missions better than a stationary one.
If you play in co-op, your crew can cover some needs for you. A teammate focused on control or support lets you lean further into damage, while a solo build has to be more self-sufficient.
Combining upgrades across your gear
Some of the most interesting builds link upgrades on different pieces of equipment. Player testing in January 2026 explored element conversion, where upgrades change or add elemental effects that other upgrades then exploit. These reports show how much depth there is in combining gear rather than tuning a single weapon.
Treat such combinations as hypotheses to test, not as guaranteed results. Interactions can change with patches, and an element route that worked in one version may behave differently in the next. Note your version whenever you try a combination you found online.
Character builds: the employee is part of the plan
Your choice of employee shapes which loops make sense. CarsonSnorlax's October 2025 video organises builds by character, with chapters for Wrangler, Bruiser, Scrapper and Glider. It is a useful way to see how differently each employee approaches the same missions.
Those builds were candidates for their time, not a permanent ranking. Since October 2025, boosting, turbocharging and Pattern Infusion have changed how far a build can be pushed. Watch the video for ideas and grid layouts, then re-test anything you copy in the current version.
If you are still choosing a main, try a simple version of your favourite loop on each employee. You will quickly see which characters make that loop feel natural and which fight against it.
Progression tools that refine a build
Several systems improve a build after you have assembled it, and they are easy to confuse. Each has a different cost and purpose, so treat them separately when planning your resources.
- Boosting: since update 1.7.2 on February 19, 2026, resources can boost non-exotic upgrades.
- Turbocharging: introduced with Oxythane Breach for exotic upgrades, starting with Glider exotics.
- Pattern Infusion: added in 1.9, it unlocks with Incursion at player level 13 and uses Antimass Substrate to transfer upgrade patterns.
- Cleanse: in the Ouroboros mode, it makes eligible upgrades from a run permanent.
Why we do not publish a single best build
There is no current, controlled damage comparison across weapons and characters. Without one, calling any loadout the best or highest-DPS build would be a guess. Old boss-kill times and showcase titles show what was possible in a past version, not what is strongest today.
A May 2026 CarsonSnorlax video, for instance, demonstrates a fire-infusion and Damage Arc trick. Its exact output and current reliability have not been corroborated, so we treat it as an interesting experiment rather than a recommendation. The same caution applies to patched exploits, which you can read about in our Accelerator build guide.
Common build mistakes
Three mistakes appear again and again in player build discussions. The first is equipping every strong upgrade without a shared plan, which produces a grid full of pieces that never trigger each other. The second is ignoring ammunition or survivability until a mission goes wrong.
The third is copying a showcase without its context. A grid recorded in a different version, with different rolls or without turbocharging, will not perform the same way in your game. When you borrow an idea, borrow the reasoning behind it as well as the layout, and test it before relying on it.
How to test and record your own build
The best way to know whether a build works is to test it in the content you actually play. Keep notes so you can compare versions of the same build fairly, and so others can reproduce your results.
- Game version and whether you were in a normal mission or Ouroboros.
- The exact grid arrangement and the rolls on each upgrade.
- Turbocharge state of any exotic upgrades.
- Mission mode, threat level and whether you played solo or in a crew.
Next steps
For character-specific ideas, read the Glider rocket build guide and the Accelerator build guide. If you need resources for boosting, the Yeuco guide explains core harvesting. Secret weapons such as the Carver chainsaw are covered in the hidden weapons guide.
The 1.0 release on October 20, 2026 adds new content, so expect some builds to change. We will update this guide as tested information becomes available.
Sources and further reading
- 1.7.2: Boosting Upgrades — official announcement (Feb 19, 2026)
- 1.9: The Enemy Update — official announcement (Jun 25, 2026)
- Oxythane Breach — official announcement (Nov 3, 2025)
- Ouroboros update — official announcement (Dec 17, 2025)
- Build Theory Crafting — Steam player discussion (Aug 2025)
- Elements — Steam player testing discussion (Jan 2026)
- Best *Meta* Employee Builds for T7 — CarsonSnorlax (YouTube, Oct 10, 2025)
- Doing an unholy amount of damage with an impractical trick — CarsonSnorlax (YouTube, May 3, 2026)