
At a glance
| Method | Coat enemy cores with a Yeuco bomb, then destroy them |
|---|---|
| Common mistake | Splashing limbs or armour instead of cores |
| Efficiency tip | Group enemies before throwing |
| What Yeuco funds | Boosting non-exotic upgrades (since 1.7.2) |
| Best farm / hourly rate | Not established |
The short version: coat cores, then break them
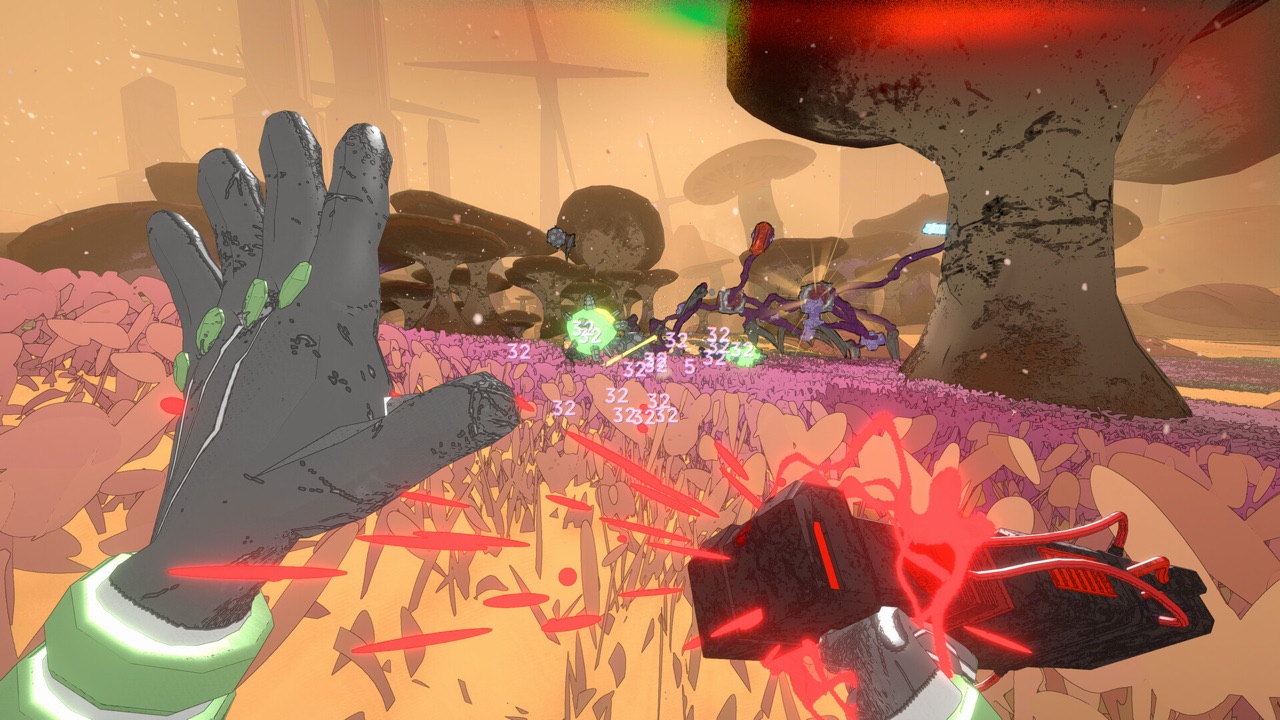
Yeuco is harvested through a two-step process rather than picked up from the ground. First you find a glowing Yeuco bomb in the level and carry it. Then you throw it so the splash coats enemy cores, and destroying a coated core makes it drop the resource.
This is described the same way in a player-written Steam resource guide, in a separate Steam discussion about resource missions, and in GamerBlurb's resource article. Because several independent players agree, the core-coating loop is the most reliable answer to the question.
Everything else on this page is about doing that loop with less waste. No source measured a best farm or an hourly rate, so we focus on the mechanics you can control.
Step by step: harvesting Yeuco in a mission
Use this sequence whenever you spot a Yeuco bomb. It works the same solo or in co-op, although a crew makes the grouping step easier.
- Locate a Yeuco bomb in the level and pick it up.
- Before throwing, let enemies cluster or pull them together so several cores are close to each other.
- Aim the throw at the cores themselves, not at limbs or armour plates.
- Destroy the coated cores while the coating is on them.
- Collect the resource drops before moving on.
Why the core matters more than the hit
The most common complaint from players is that the coating lands on the wrong part of the enemy. In the Steam resource-mission discussion, separate players describe how hard it can be to get the splash onto cores rather than limbs. A bomb that only coats armour does not produce the drop you want.
That makes positioning more important than speed. Take a moment to line up a throw where the core is exposed, instead of throwing at the first enemy you see. If your crew can strip armour first, the core becomes a much easier target.
Think of each bomb as a limited opportunity. Throwing it carelessly into a crowd may feel efficient, but missing the cores means you have spent the bomb for nothing.
Grouping enemies for more Yeuco per bomb
Because the splash coats whatever cores it reaches, a tight group of enemies gives you more coated cores from a single throw. Grouping targets before you throw is the efficiency principle all sources point towards. In practice that means waiting a moment for enemies to bunch up, or using abilities that pull them together.
One player reported using an Acid Grenade to help group enemies for this purpose. That is a reported approach, not a tested optimal method, but it illustrates the idea well. Any tool that clusters enemies without destroying their cores can help.
In co-op, agree on who carries the bomb and let the rest of the crew hold enemies in place. Version 1.9 added in-game voice chat without needing a Discord account, which makes that call-out much easier.
Which maps should you farm?
The Steam resource guide, written in July 2025, lists Titan City and Moldy Tundra for harvesting. That reflects the launch-era maps. Mycopunk's world generation and mission structure have changed since then, so those two regions should not be treated as the only valid places to find Yeuco today.
Rather than committing to one map, watch for Yeuco bombs in whatever missions you run and use the loop whenever one appears. If a newer, reliable route is confirmed after the 1.0 update, we will add it here.
What Yeuco is used for now
Knowing what you are spending on helps you decide how much to farm. Update 1.7.2, released on February 19, 2026, changed resources so they fund boosting for non-exotic upgrades. Older guides that say every upgrade needs an initial resource payment are out of date.
In other words, Yeuco now feeds the process of strengthening upgrades you already use. Plan around the upgrades your build relies on, and our build guide explains how boosting fits alongside grid placement and Pattern Infusion.
Solo vs co-op harvesting
The harvesting loop works the same whether you play alone or with a crew, but the challenge changes. Solo, you have to group enemies, throw the bomb and break the cores yourself, so a careful throw matters more than a fast one. Pick moments when you are not under heavy pressure, because a rushed throw is the easiest way to miss the cores.
In co-op, harvesting becomes a team job. One player can carry the bomb while the others hold enemies together and clear armour, then everyone focuses fire on the coated cores. Agreeing on this before the mission starts saves a lot of wasted bombs in the middle of a fight.
If you are looking for a crew, the matchmaking guide explains how the crew browser works. Check the game version and whether the host allows modded players before joining.
Spending Yeuco wisely
Farming more is only half of the answer; spending less carelessly matters too. Because resources now fund boosting for non-exotic upgrades, put them into the upgrades your build actually relies on. Boosting something you rarely equip leaves less for the pieces that carry your loadout.
Exotic upgrades follow different rules, including turbocharging for some characters, so do not assume the same resource plan applies to them. Pattern Infusion, added in version 1.9, uses Antimass Substrate rather than Yeuco to transfer upgrade patterns. Keeping these systems separate in your head avoids spending the wrong resource on the wrong goal.
A practical habit is to decide your next boosting target before each deployment. That way the Yeuco you bring back has a clear destination, and you will know when you have farmed enough.
Common mix-ups to avoid
A popular July 2025 video titled How to Farm UPGRADES Fast is about upgrade drops, not Yeuco. Its setup used an old Carver configuration that has since been nerfed. Upgrade yield and Yeuco yield are different goals, so do not use that video as a Yeuco farm.
Also be cautious about any guide promising a fixed number of Yeuco per hour or a guaranteed spawn route. None of the sources behind this page measured those numbers, and patch changes make old figures unreliable. Version 1.9 changed world and progression systems without documenting a Yeuco drop multiplier.
Quick checklist before your next deployment
Remember the loop: find the bomb, group enemies, coat the cores, break them and collect. If a throw misses the cores, adjust your angle rather than throwing faster. For new players, the beginner overview explains enemy cores and the mission loop in more detail.
Sources and further reading
- How to collect each resource — T3h Phish (Steam guide, updated Jul 16, 2025)
- Resource missions — Steam player discussion (Apr 2026 onward)
- 1.7.2: Boosting Upgrades — official announcement (Feb 19, 2026)
- 1.9: The Enemy Update — official announcement (Jun 25, 2026)
- New player guide to Mycopunk — SlideDrum (YouTube, resources at 11:30)
- How to Farm UPGRADES Fast — Fleazuri (YouTube, Jul 22, 2025)